DIY: Father's Day Badges and Patches
Happy Father's Day! Here is a special DIY just for the occasion.
Are you looking for something to give your dad, grandpa that shows him how rad he is? Need something new to add some pizzazz to your routine outfit?
Make these super easy and fun patches and badges to show off your creativity and throw something unique into your summer wardrobe. And the best part is, you can make them any color, size, and shape that you want!
This activity involves some sharp materials - always have an adult around to help out.
What you'll need:
© Paige Geimer 2018.
- fabric (felt and canvas scraps work!)
- permanent markers/fabric markers
- scissors
- needle & thread
- safety pin
How to do it:
© Paige Geimer 2018.
1. Draw your design on a piece of fabric - keep in mind how big you want your patch to be! If you are comfortable embroidering, you can do that too.
© Paige Geimer
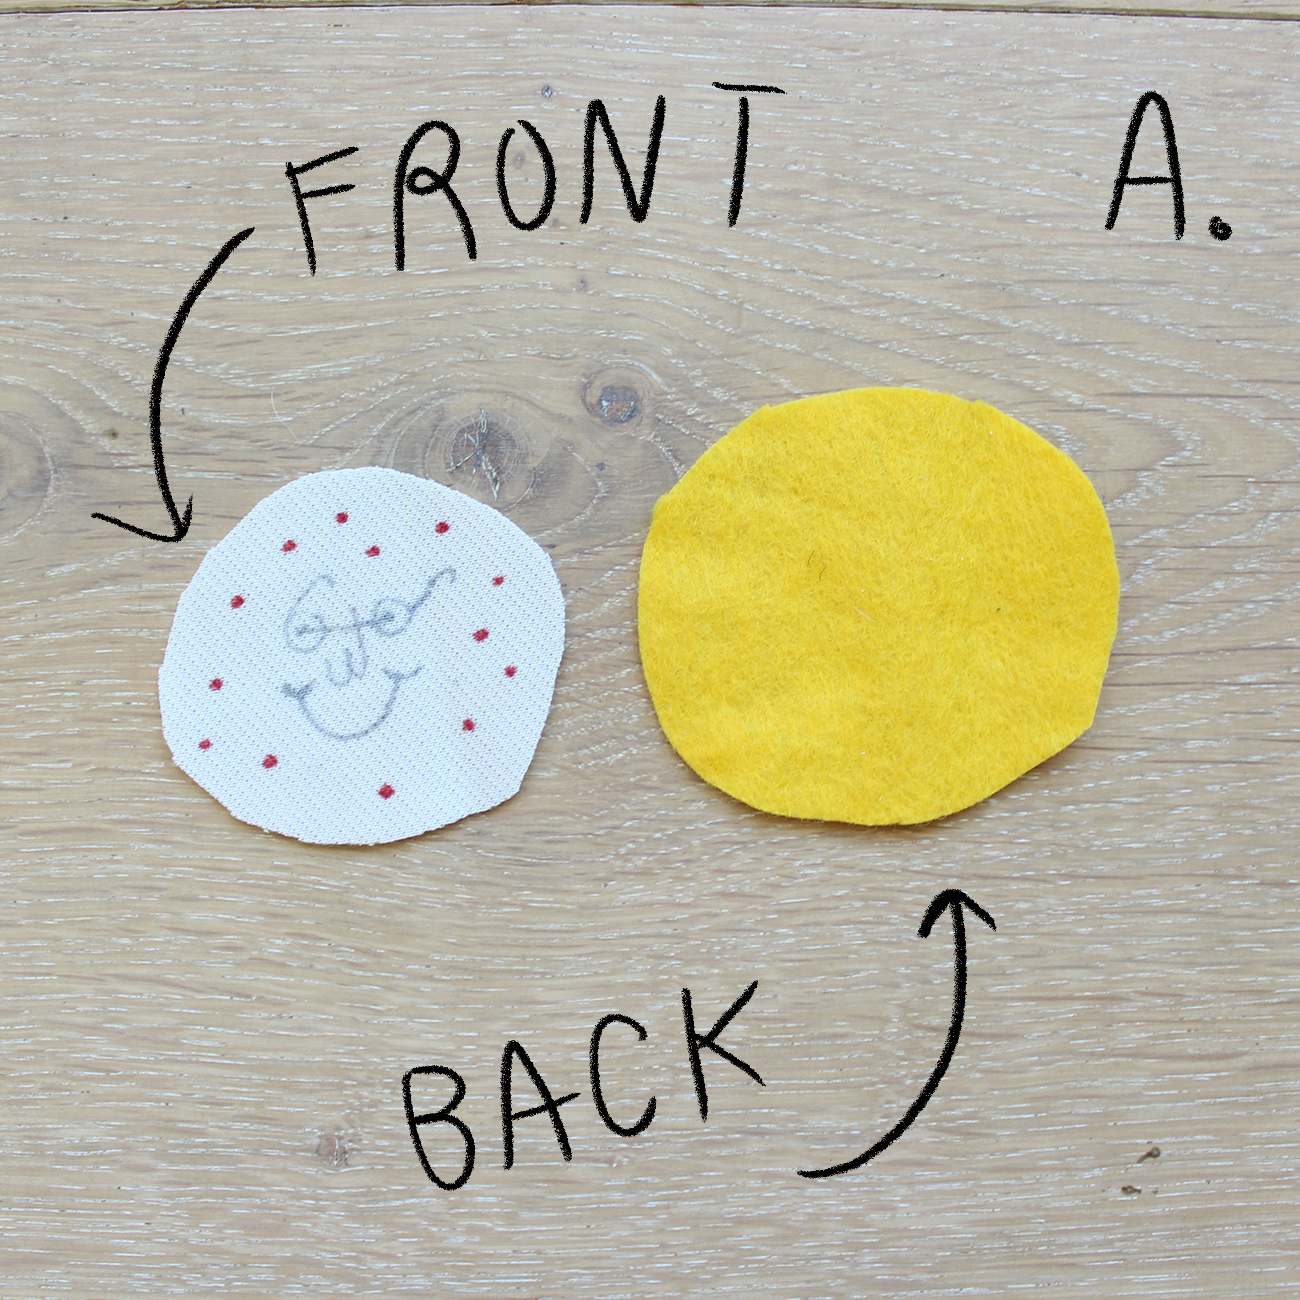
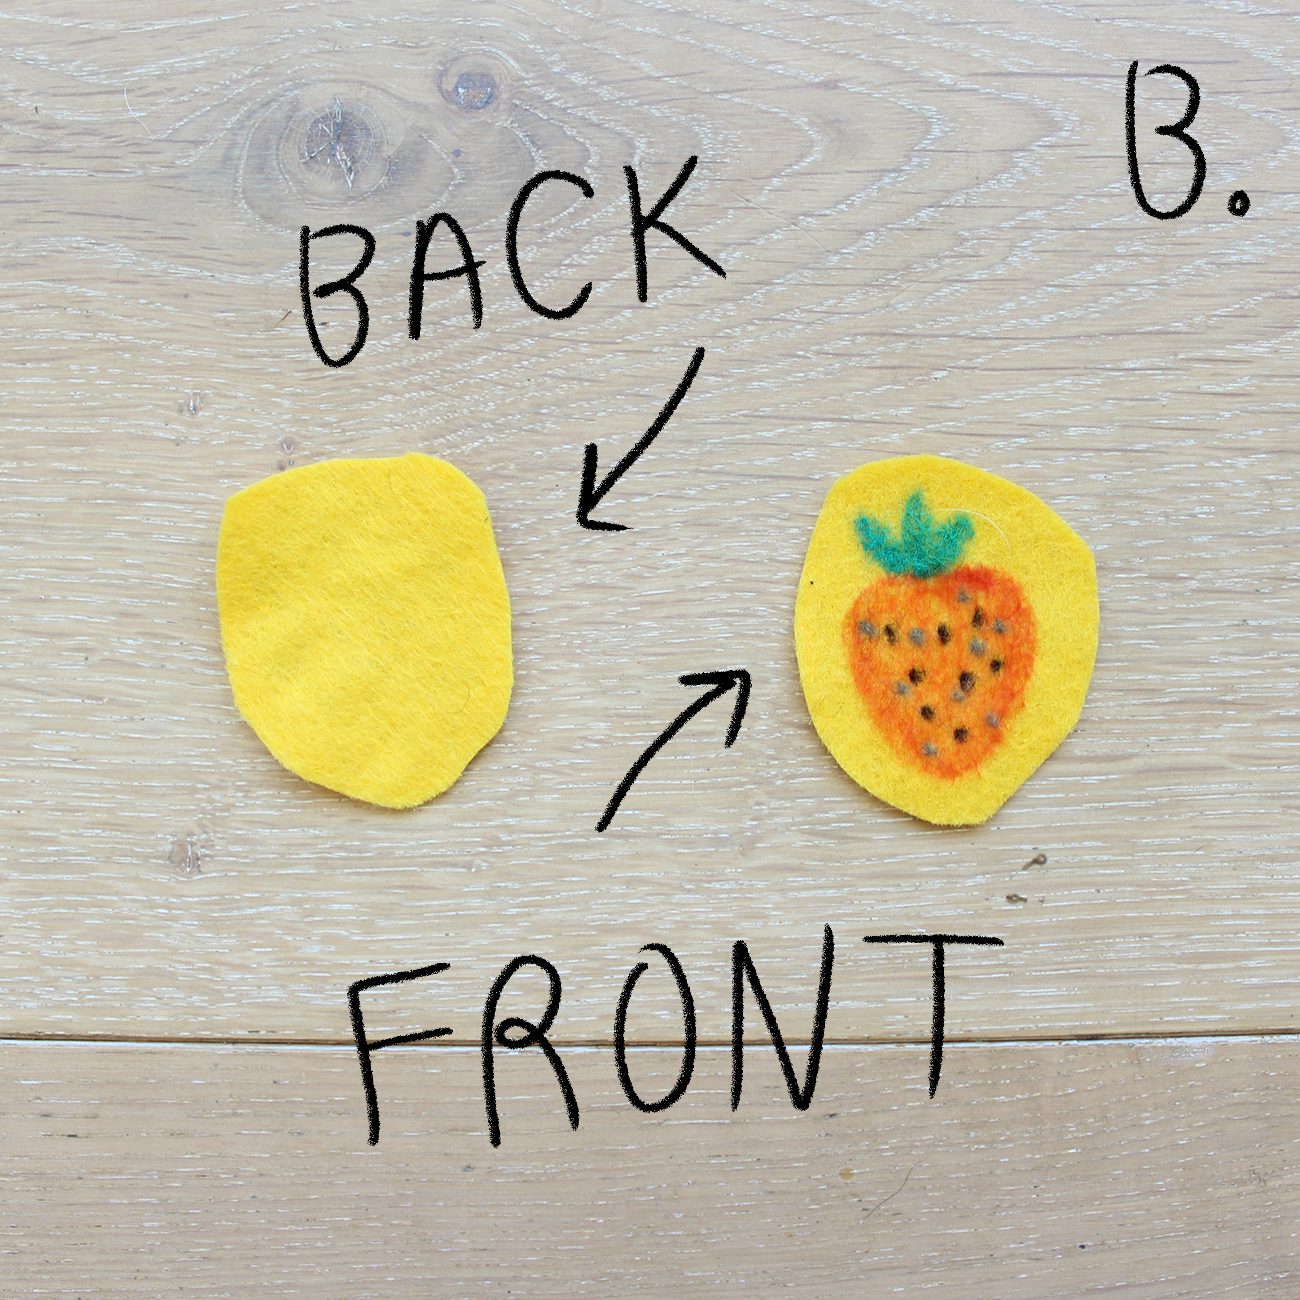
2. Cut the desired shape of your patch around your design. Next, cut the back piece of fabric**.
**If you want a simple patch, just cut another piece of fabric the same size or a little bit larger than your first piece (see squares A & B). If you want to make a badge, cut a larger piece and don’t forget the tails (see square C).
© Paige Geimer
© Paige Geimer
3. Using a fun colored piece of thread or embroidery floss, sew the two pieces together! An easy way to do this is to follow the shape of the top layer. Another option is to use a hot glue gun with an adult to glue the pieces together.
Don't forget to knot the thread in the back of the patch!
© Paige Geimer
© Paige Geimer 2018.
4. All done! To attach, put the safety pin through the back layer (so it does not poke through the top layer) and put on your shirt, backpack, or anything!
© Patches by Claire Astrow, Paige Geimer, and Alexandria Lai
Optional step: gift to your dad or best friend for a rad custom gift that they can show off!
© Paige Geimer 2018
Love this DIY project? Post your finished piece on Instagram with the #ILLUSTORIAinspires for a chance to have your work displayed on our blog! And stay tuned for more DIY projects on our blog and in the upcoming Issue 7: Black & White, set for shelves late July 2018.


